
How to Create and Send an Email Campaign
This guide walks you through how to create an email campaign from start to finish.
We cover all available options, including regular campaigns, A/B split campaigns, design methods, audience selection, sales tracking, and sending options.
👉 See the separate articles on How to Enable Sales Tracking in Campaigns and Automations and How to Analyze Campaign Performance for full details on how to measure and analyze Email campaigns.
💡 Important
Before you can send email campaigns, you must connect your own domain in the email settings.
Connecting a domain allows Recrevio to send emails using your business domain – for example, @yourcompany.com .
Navigate to Marketing > Email Settings, to complete the setup.
👉 See How to Connect Your Domain for Email Sending for step-by-step instructions.
Free email domains such as Gmail, Hotmail, and Outlook cannot be used, as they do not allow the required authentication for campaign sending.
Step 1: Go to Create Campaign
Navigate to Marketing > Campaigns > Create Campaign
Once you click the Crete Campagin button you’ll start by selecting the campaign flow.
Step 2: Select campaign flow
Choose the channel you want to use
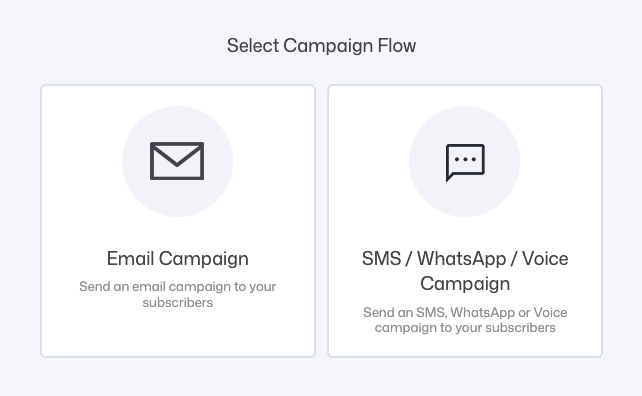
- Email Campaign – send emails to your subscribers
- SMS / WhatsApp / Voice Campaign – send messages via other channels
Click Email Campaign to continue.
👉 This article focuses on Email Campaigns.
For a step-by-step guide on how to create message campaigns, please refer to: Creating a Message Campaign (step-by-step)
Step 3: Name your campaign
Enter a Campaign Name.
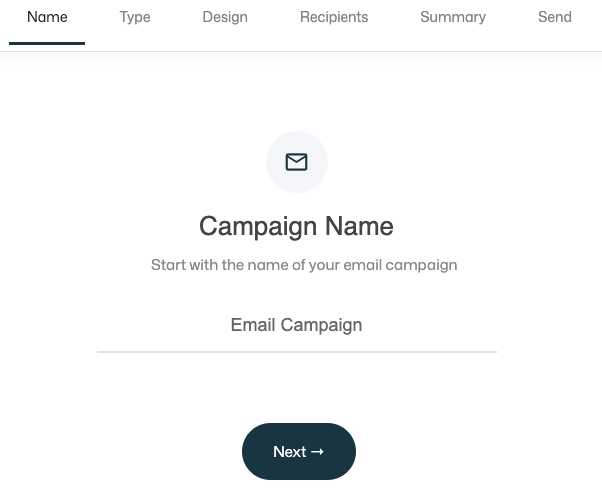
This name is for internal use only and helps you identify the campaign later in lists and analytics.
Examples
- “October Newsletter”
- “Webinar Reminder – Day 1”
- “Product Launch – Final Call”
Once you have given your campaign a name, click Next to continue.
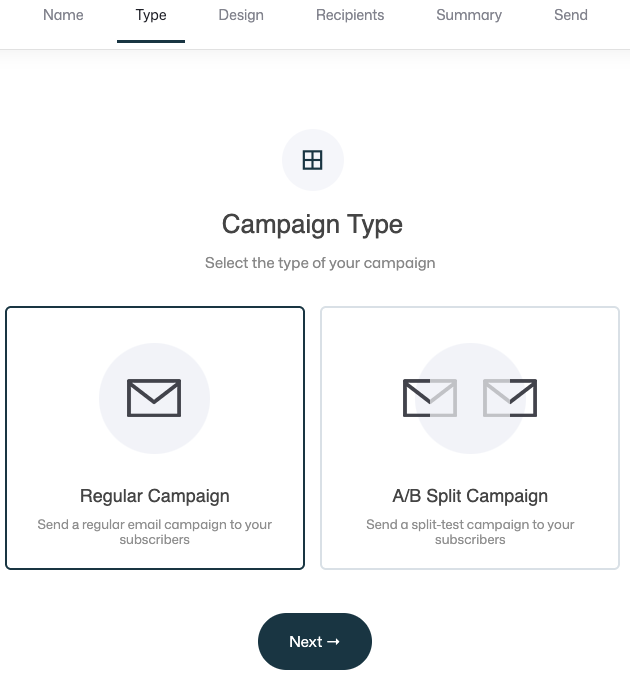
Step 4: Select campaign type
Choose the type of email campaign you want to create.
Option 1: Regular campaign
A standard email campaign where everyone receives the same email.
Use this for:
- Newsletters
- Announcements
- Launch emails
- Broadcasts
Option 2: A/B Split campaign
Test two versions of your email to see which performs better.
When you select A/B Split Campaign, you’ll configure.
What do you want to test?
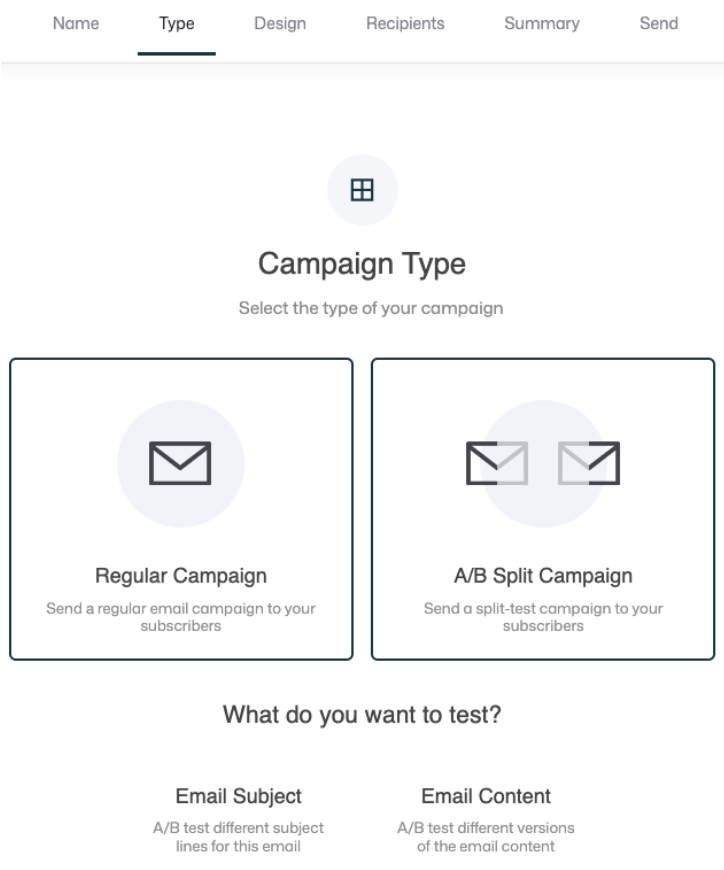
- Email subject – test two different subject lines
- Email content – Test two different email designs/content
Winner will be based on:
- For Email Subject test you can chose between:
- Open rate
- Click rate
- For Email Content test the winner will be picked by:
- Click rate
Winner is decided after:
- Set the test duration using the slider (e.g. 1 hour)
After the test period, the winning version is automatically sent to the remaining audience.
Click Next to continue.
Step 5: Design your email
In the Design step, you choose how to create your email content.
Option A: Templates list
Choose from pre-designed system templates.
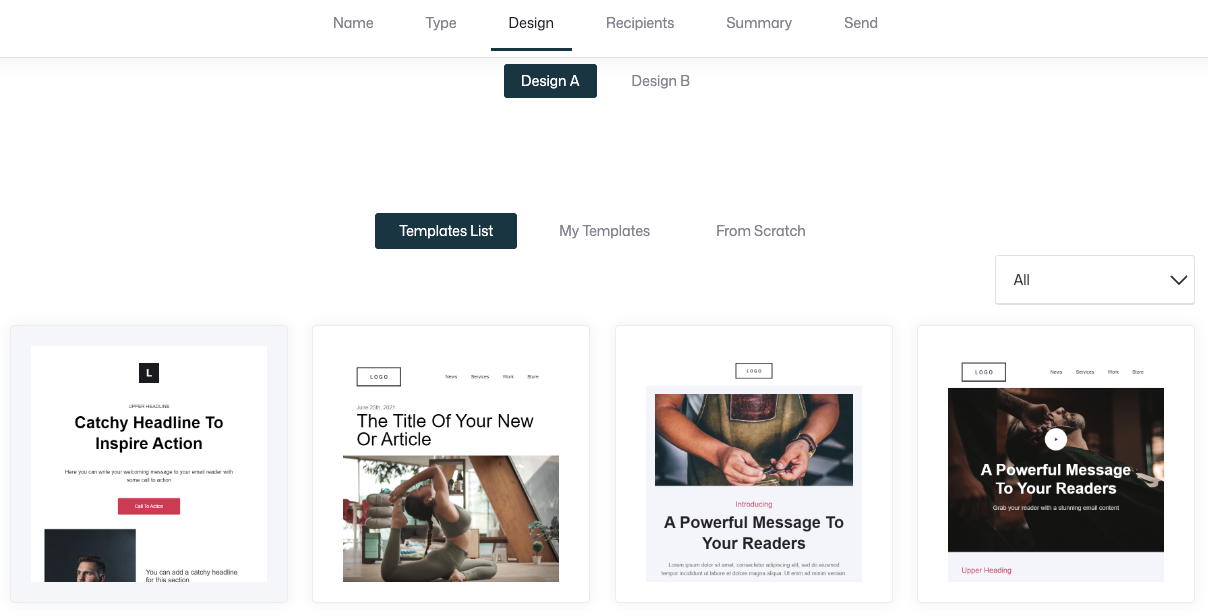
Good if you want to:
- Work fast
- Start from a proven layout
Option B: My templates
Reuse templates you’ve previously created and saved.
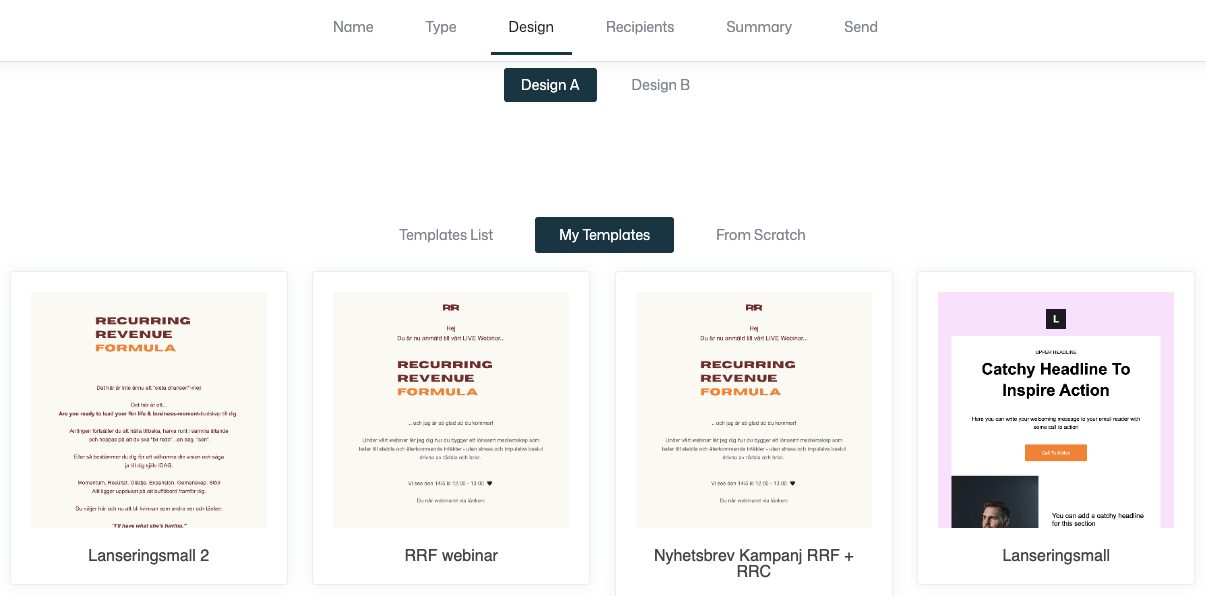
Perfect for:
- Brand consistency
- Repeating campaign formats
👉 See the separate article Creating and managing email templates.
Option C: From scratch
Build a new email from the ground up.

You can choose between:
- Drag & Drop Design Studio – visual editor with blocks and styling
- Text email – simple plain-text email
- Custom HTML – full control over the raw HTML
Design A/B variants (A/B campaigns only)
If you selected an A/B Split Campaign, you’ll design both versions at this step, simply switch between the two versions at the top.

Each version can have totally different layouts, copy, images, or CTAs and are edited separately.
The system will test both and select a winner automatically.
Click Next to continue.
Step 6: Select recipients
In the Recipients step, choose who will receive the campaign.

You can select:
- Lists – full subscriber lists
- Segments – filtered audiences based on behavior or properties
For each list or segment, you can:
- Include it
- Exclude it
To make sure you only send it to the subscribers you want to.
You’ll see a live count of the total recipients at the bottom.
Click Next to continue.
Step 7: Campaign summary & settings
This step lets you review and configure final campaign details.
Email settings

- Subject (or Subject A and Subject B for A/B test campaigns where you're testing different subjects)
- From name
- From email address
- Reply-to address
Sales tracking (optional)
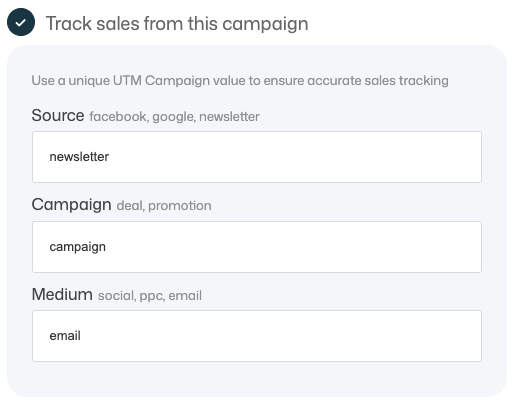
You can enable Track sales from this campaign.
When enabled, you can define:
- Source (e.g. newsletter, facebook, google)
- Campaign (e.g. launch, deal, promotion)
- Medium (e.g. email, social, ppc)
These values are used to generate UTM tracking links and connect email clicks to sales data.
👉 See the separate articles on How to Enable Sales Tracking in Campaigns and Automations and How to Analyze Campaign Performance for full details on how to measure and analyze Email campaigns.
Recipients
The Recipients section lets you review who will receive the campaign before sending.

Here you can see:
- The total number of recipients
- Which list or segment the campaign is being sent to
If the recipient count doesn’t look correct, you can go back to the Recipients step to adjust your list or segment selection before sending the campaign.
Review content
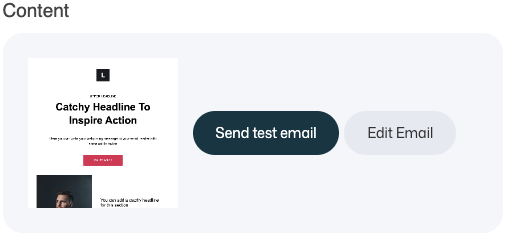
You can:
- Preview the email
- Send a test email
- Jump back and edit the email if needed
Click Next when ready.
Step 8: Send or schedule the campaign
In the final step, you choose when and how your campaign will be sent.
Send options
You can choose one of the following options.

- Draft – Save the campaign without sending it
- Now – Send the campaign immediately
- Later – Schedule the campaign to be sent at a specific date and time
When everything looks correct, click Send Campaign to complete the process.
A/B test campaigns: A/B test size
If you are sending an A/B split campaign, you will also choose the A/B test size.
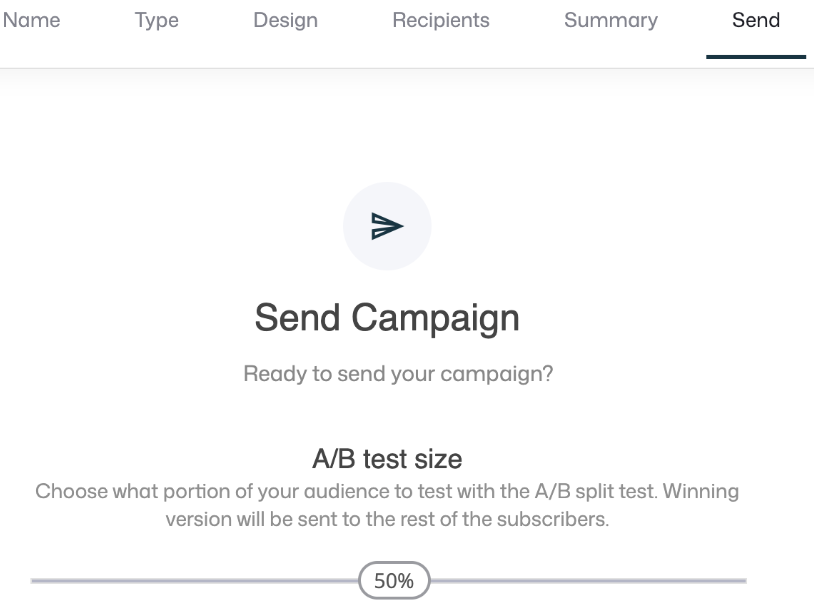
This determines what portion of your audience will be used for the test.
- You can select 5%–50% of your total audience
- The selected percentage will receive version A and B
- The winning version will automatically be sent to the remaining subscribers after the test period
This allows you to test performance before sending the best-performing version to the full audience.
What happens next?
- Both sent and saved campaigns appear in Marketing >Campaigns
- Drafts remain editable and can be resumed at any time
- Performance data becomes available once the campaign is sent
👉 See How to Analyze Campaign Performance to understand open rates, clicks, sales, and more.
Summary
Creating an email campaign follows these steps:
- Go to Create Campaign
- Choose campaign flow
- Name the campaign
- Select campaign type (Regular or A/B)
- Design the email
- Select recipients
- Configure settings and sales tracking
- Send now, later, or save as draft